Table of Contents
ToggleA 36-inch bathroom vanity occupies that rare zone where form and function meet without compromise. It’s wide enough to provide meaningful counter space and storage, yet compact enough to fit most standard bathrooms without dominating the room. Whether renovating a cramped powder room or upgrading a dated secondary bath, this size hits the mark for single-sink configurations. From freestanding models with drawer stacks to wall-mounted designs that free up floor space, the options are broad. This guide covers everything needed to select, install, and style a 36-inch vanity with confidence.
Key Takeaways
- A 36-inch bathroom vanity offers the ideal balance of storage and space efficiency, fitting most standard residential bathrooms while providing 20+ inches of usable counter space for daily essentials.
- Choose between freestanding vanities for easier DIY installation and wall-mounted designs for a modern, space-saving look that exposes floor tile and simplifies cleaning.
- Cabinet material, countertop choice, faucet spread, and depth significantly impact durability and functionality—prioritize solid wood or plywood with veneer in humid environments and verify pre-drilled faucet holes before purchasing.
- Successful 36-inch vanity installation requires proper stud location, leveling with shims, secure mounting with 2.5- to 3-inch screws, and careful plumbing connections to avoid leaks.
- Maximize limited counter space with vertical storage solutions like recessed medicine cabinets, floating shelves, and internal drawer organizers, plus strategic lighting and hardware upgrades for a polished finish.
Why a 36-Inch Vanity Is the Sweet Spot for Most Bathrooms
Most residential bathrooms measure between five and eight feet wide. A 36-inch vanity leaves adequate clearance on both sides, the International Residential Code (IRC) recommends at least 15 inches of clear space from the vanity edge to adjacent fixtures like the toilet or shower.
This size delivers functional counter space without crowding. A standard oval undermount sink measures roughly 16 by 12 inches, leaving 20 inches of usable countertop on a 36-inch deck. That’s enough room for a soap dispenser, toothbrush holder, and a few daily-use items without clutter.
From a resale perspective, single-sink vanities in the 30- to 42-inch range align with buyer expectations for hall and guest bathrooms. Builders often spec 36-inch units as the default for secondary baths, which means replacement parts, pre-cut countertops, and compatible faucets are widely available.
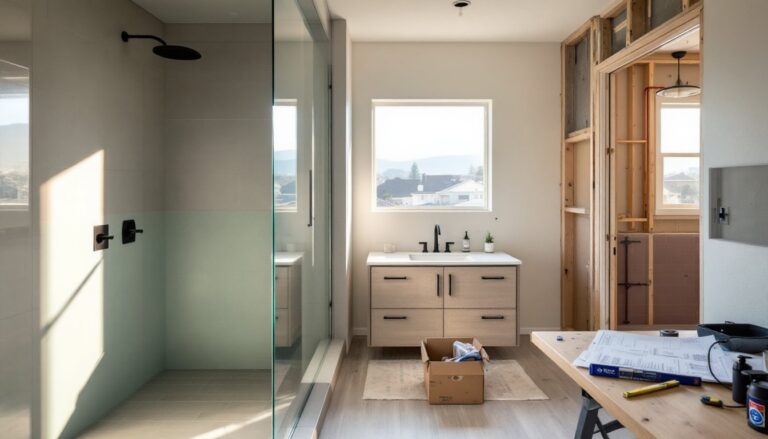
Installation is manageable for a solo DIYer. A typical particle board or plywood cabinet weighs 60 to 90 pounds without the countertop, light enough to maneuver through doorways and position against the wall without a second pair of hands, though help never hurts.
Types of 36-Inch Bathroom Vanities: Finding Your Style
Freestanding vs. Wall-Mounted Vanities
Freestanding vanities rest directly on the floor and account for the majority of 36-inch models. They’re easier to install since they don’t require blocking between studs or precise leveling against drywall. Most come with adjustable legs or a toekick base, which simplifies shimming on uneven floors.
The downside: cleaning underneath is difficult, and the footprint can make a small bathroom feel tighter.
Wall-mounted (floating) vanities attach to blocking secured to wall studs. They create visual openness by exposing floor tile and make mopping straightforward. Installation requires locating studs, installing 2×6 or 2×8 blocking between them, and ensuring the cabinet is level across both axes.
Floating units usually weigh less, many use MDF or engineered wood cores, but the countertop and sink add significant load. Verify that blocking is fastened into at least two studs with 3-inch construction screws to support the combined weight, often exceeding 150 pounds with plumbing and contents.
Single Sink Configurations and Storage Options
A center-sink layout is the most common. The drain typically aligns with the wall stub-out, simplifying rough-in. Drawers flank the sink, or a pair of doors opens to shelving.
Offset-sink designs push the basin to one side, freeing up a larger stretch of counter. This works well if the user needs elbow room for grooming or applying makeup. The trade-off is asymmetrical storage, one side gets a full stack of drawers: the other might be a narrow pullout or open shelf.
Look for dovetail drawer boxes and full-extension soft-close slides if longevity matters. Cheaper units use stapled particleboard drawer boxes and basic euro slides that bind under load. Popular design trends featured on HGTV often highlight vanities with mixed storage: a combination of drawers for small items and a cabinet for cleaning supplies or a wastebasket.
Key Features to Consider When Shopping for a 36-Inch Vanity
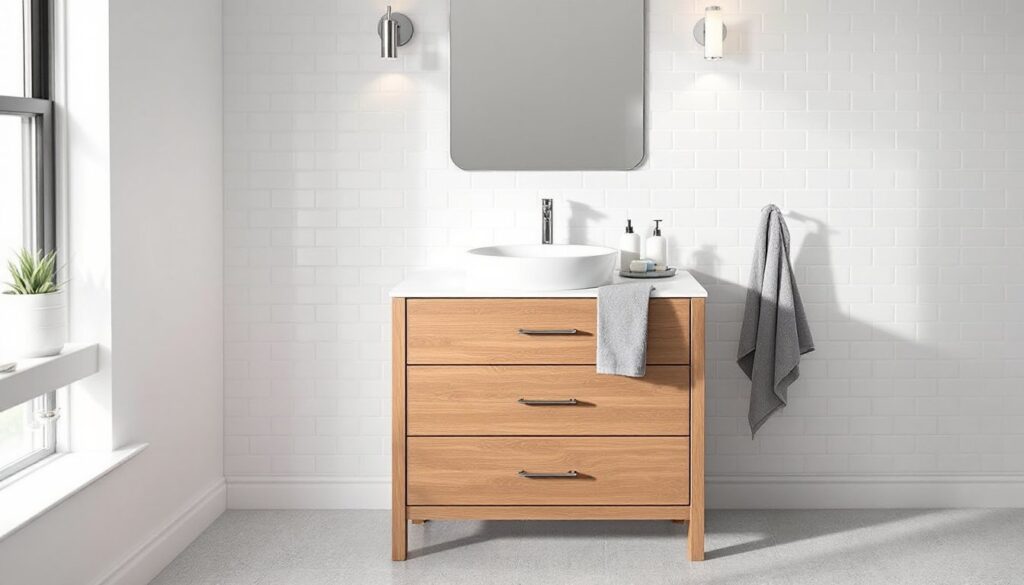
Cabinet material dictates durability and price. Solid wood (oak, maple, birch) stands up to humidity best but costs more. Plywood with veneer is a strong mid-tier option. Avoid pure particleboard or MDF in wet environments unless it’s sealed and the bathroom has exhaust ventilation, moisture causes swelling and delamination.
Countertop options range from cultured marble (integrated sink, seamless, affordable) to quartz (non-porous, stain-resistant, premium cost) and natural granite (unique patterns, requires periodic sealing). Measure the backsplash height, standard is 4 inches, but some quartz slabs come with matching full-height backsplashes that protect drywall near the faucet.
Many retailers offer vanities as combo kits with a pre-drilled top, undermount or drop-in sink, and sometimes a basic faucet. Kits simplify purchasing but limit customization. Buying components separately takes more time but allows pairing a vessel sink with a stone slab or choosing a wall-mount faucet for a cleaner counter.
Faucet spread matters. Verify whether the top is drilled for a 4-inch centerset, 8-inch widespread, or single-hole faucet. Re-drilling stone or quartz isn’t a DIY task.
Depth is often overlooked. Standard vanity depth is 21 inches, but some modern designs go as shallow as 18 inches to save floor space or as deep as 24 inches for extra counter. Shallow vanities can hit your knees: deep ones may block the bathroom door swing.
Finally, check drawer weight ratings and hardware quality. Soft-close mechanisms add $20 to $40 per unit but prevent slammed drawers and extend hinge life. Inspiration for cabinetry finishes and hardware pairings can be found on design-focused sites like Remodelista, which curate high-quality product examples.
How to Install a 36-Inch Bathroom Vanity: Step-by-Step DIY Guide
Tools & Materials:
- 4-foot level
- Stud finder
- Adjustable wrench and basin wrench
- Drill/driver with bits
- Silicone caulk and caulk gun
- Plumber’s putty or tailpiece washers
- Supply lines (braided stainless recommended)
- P-trap kit
- Shims (composite or wood)
- Safety glasses
Step-by-Step:
-
Shut off water at the angle stops (the small valves on the wall) or at the main if no stops exist. Open the faucet to drain residual pressure.
-
Remove the old vanity. Disconnect supply lines and the P-trap. Unscrew or cut any caulk sealing the vanity to the wall and floor. If it’s screwed to studs, back those out. Lift it free.
-
Inspect and repair the wall. Patch any holes with joint compound. If drywall is water-damaged, cut it back to the nearest stud and install a new piece of 1/2-inch drywall. Paint or prime before proceeding.
-
Locate studs. Mark them with painter’s tape. A 36-inch vanity will likely span at least two studs (studs are typically 16 inches on center).
-
Dry-fit the vanity. Slide it into position. Ensure supply lines and drain stub-out align with cabinet openings. Use the level to check plumb front-to-back and side-to-side. Insert shims under the base as needed. Don’t over-shim or the cabinet will rack.
-
Secure the vanity. Drill pilot holes through the cabinet’s hanging rail (usually a 1×4 or 1×3 strip at the back top edge) into studs. Drive 2.5- or 3-inch wood screws. For floating vanities, attach the mounting bracket to blocking, then hang the cabinet per manufacturer instructions.
-
Install the countertop. If it’s a drop-in top, run a bead of silicone caulk along the cabinet edges and set the top. For undermount sinks, the bowl usually clips to the underside of the stone before setting. Follow template instructions for clip placement.
-
Mount the faucet to the countertop (easier before the top is installed) and connect supply lines to the faucet tailpieces and angle stops. Hand-tighten, then add a quarter turn with a wrench, don’t overtighten braided lines.
-
Connect the drain. Slide the tailpiece through the sink drain, add the washer, and thread the nut from below. Connect the P-trap to the tailpiece and wall stub-out. All connections should be hand-tight plus a slight snug with slip-joint pliers.
-
Turn water on slowly. Check for leaks at supply connections, faucet base, and drain joints. Tighten as needed.
-
Caulk the edges. Run a bead of silicone or latex caulk where the vanity meets the wall and along the backsplash. Tool it smooth with a wet finger.
Permit note: Replacing a vanity on existing plumbing usually doesn’t require a permit, but moving supply or drain lines might. Check local codes. If the bathroom is in a mobile home or uses PEX or CPVC supply lines, consider calling a plumber to avoid cracked fittings.
Styling and Maximizing Your 36-Inch Vanity Space
Counter real estate is limited, so vertical storage becomes critical. A recessed medicine cabinet above the vanity adds 12 to 18 inches of depth without protruding into the room. If wall thickness allows, recess it between studs for a flush look.
Floating shelves flanking a mirror bring display and function. Keep them shallow, 6 to 8 inches, so they don’t crowd the user. Use them for folded hand towels, small plants, or apothecary jars.
Inside the cabinet, pull-out organizers and tiered shelf risers double usable space. A two-tier drawer insert keeps makeup, razors, and cotton swabs visible instead of jumbled.
For mirror size, aim for a width that’s 70–80% of the vanity width, roughly 26 to 30 inches for a 36-inch base. Hang it so the center sits at 57 to 65 inches from the floor, which accommodates most users without stooping.
Lighting makes or breaks the space. A single overhead fixture casts shadows. Flank the mirror with sconces at 60 to 65 inches from the floor, spaced about 30 inches apart. Use LED bulbs rated 2700–3000K for warm, flattering light. If the circuit is controlled by a single switch, wire sconces and overhead in parallel so both can be on simultaneously.
Hardware and accents tie the vanity to the room. Swapping builder-grade knobs for brushed nickel or matte black pulls is a 20-minute upgrade. Match finish to faucet and towel bars for cohesion.
Don’t ignore the toekick. Painting it the same color as the cabinet makes it recede. Or install a toe-kick drawer, a slim pullout (about 3.5 inches tall) for flat items like hair tools or cleaning cloths. They’re available as retrofit kits and mount to the cabinet base with screws.
For shoppers hunting deals, checking curated sales pages, such as those listing 36-inch vanities on sale, can surface quality options at lower price points during seasonal promotions.