Table of Contents
ToggleAir purifiers work hard to keep indoor air clean, but like any appliance, they break down. A unit that won’t power on, makes grinding noises, or barely moves air doesn’t need to go straight to the landfill. Most common air purifier failures can be diagnosed and fixed at home with basic tools and a methodical approach. Whether it’s a faulty sensor, clogged filter housing, or loose fan assembly, understanding how these machines work helps homeowners troubleshoot problems and decide when a repair makes sense versus replacing the unit entirely.
Key Takeaways
- Most common air purifier repair issues—including power failures, weak airflow, and sensor errors—can be diagnosed and fixed at home with basic tools like a multimeter, screwdrivers, and compressed air.
- Always unplug the unit before opening the housing and wear safety glasses, as air purifiers run on 120V AC and capacitors can hold a dangerous charge even when disconnected.
- Clogged or saturated HEPA filters are the leading cause of weak airflow, so regularly replace filters every 6–12 months and clean dust from fan blades and intake vents to restore performance.
- Air purifier repair makes financial sense only if the unit is less than 5 years old, the problem costs less than 40% of a replacement unit, and the repair doesn’t require specialty electrical work.
- Unusual noises like grinding or high-pitched whining often signal mechanical issues such as loose fan blades, debris in the housing, or failing motor bearings that require immediate inspection.
- Replace rather than repair if the motor is burned out, the control board is fried, the housing is cracked, or replacement filters are discontinued, as these repairs cost 50–70% of a new unit.
Diagnosing Your Air Purifier: Common Problems and Their Symptoms
Start by identifying what’s actually wrong. Air purifiers fail in predictable patterns, and matching symptoms to causes saves time.
No power or display: The unit doesn’t turn on, shows no lights, and the fan doesn’t spin. This points to power supply issues, check the outlet with another device, inspect the power cord for damage, and examine the internal fuse if accessible. Some models have a thermal cutoff switch that trips when the motor overheats.
Runs but moves little air: The purifier powers on and sounds normal, but airflow at the outlet is weak. Clogged filters are the usual culprit, HEPA filters can look clean but still restrict airflow when saturated with fine particles. Check the pre-filter, HEPA filter, and any activated carbon layers. If filters are fresh, the fan blades may be obstructed or the motor bearings worn.
Unusual noises: Rattling, grinding, or high-pitched whining indicates mechanical trouble. Loose fan blades, debris in the housing, or failing motor bearings cause these sounds. A rhythmic thumping often means the fan is unbalanced or a mounting screw has vibrated loose.
Sensor or indicator errors: Air quality lights stuck on one color, filter change reminders that won’t reset, or erratic fan speed changes suggest sensor or control board problems. Dust accumulation on optical sensors is common and easily fixed.
Burning smell or sparking: Shut down immediately. This signals electrical failure, damaged wiring, a failing motor, or capacitor issues. Continuing to run the unit risks fire.
Essential Tools and Safety Precautions for Air Purifier Repair
Air purifier repair doesn’t require specialty tools, but working safely around electrical components and moving parts is non-negotiable.
Tools needed:
- Phillips and flathead screwdrivers (most housings use #1 or #2 Phillips screws)
- Needle-nose pliers for disconnecting wire harnesses
- Multimeter for testing voltage and continuity (a $20 model works fine)
- Soft brush or compressed air for cleaning sensors and fan blades
- Flashlight or headlamp for inspecting dark interior spaces
- Replacement parts specific to your model (filters, fuses, or sensors)
Safety precautions:
Always unplug the unit before opening the housing. Air purifiers run on 120V AC in the U.S., which is lethal. Even after unplugging, capacitors in some models can hold a charge, discharge them by shorting terminals with an insulated screwdriver if you’re accessing the control board.
Wear safety glasses when using compressed air or working around dust-caked components. Old HEPA filters contain concentrated allergens, mold spores, and fine particulates. Consider a dust mask (N95 or better) if you’re sensitive or the filter is visibly loaded.
Work in a well-lit, clutter-free area. Air purifier housings have sharp plastic edges and small screws that roll away easily. Keep fasteners organized, snap a photo of screw locations before disassembly if the manual is missing.
Don’t force components. Plastic tabs and clips break easily. If a panel won’t release, look for hidden screws or release tabs. Forcing it usually means buying a new housing.
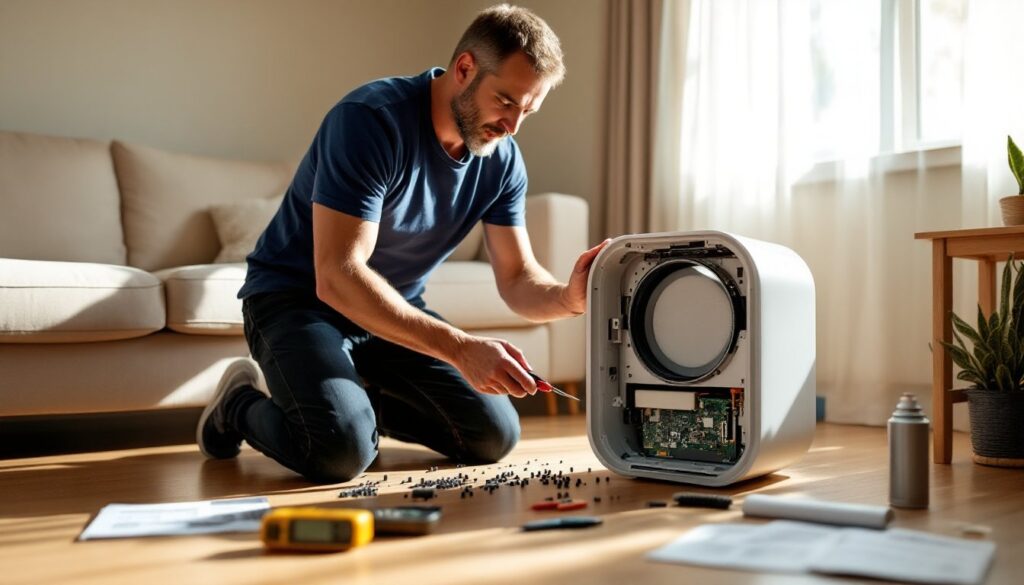
How to Fix a Non-Functioning Air Purifier
When the unit is completely dead, work through power issues systematically.
-
Test the outlet. Plug in a lamp or phone charger to confirm the outlet has power. Check the circuit breaker if the outlet is dead.
-
Inspect the power cord. Look for fraying, kinks, or damage near the plug and where the cord enters the unit. Flex the cord while watching for sparks or intermittent power. A damaged cord needs replacement, splicing household extension cords into appliances violates electrical code and voids warranties.
-
Check the inline fuse. Some models have a small cylindrical fuse in the power cord plug or inside the housing near the power entry. Remove it (you may need to pry open a fuse holder) and test continuity with a multimeter. Replace with an identical fuse, 5A or 10A, 125V is common. Using a higher-rated fuse defeats overcurrent protection and creates a fire hazard.
-
Access the internal wiring. Remove the housing screws (usually on the back or bottom panel). Once inside, check wire connections to the power switch, control board, and motor. Vibration can loosen crimp connectors. Reseat any loose connections.
-
Test the power switch. Set the multimeter to continuity mode. With the switch in the “on” position, probe the terminals. No continuity means a failed switch. Replacement switches for common models cost $10–$20 and install with spade connectors or solder joints.
-
Check the motor. If power reaches the motor but the fan doesn’t spin, the motor may be seized or burned out. Try rotating the fan blade by hand (with power off). It should spin freely. If it’s frozen or feels gritty, the bearings are shot. Motor replacement is possible but often costs 50–70% of a new unit.
Resolving Unusual Noises and Vibrations
Mechanical noise is easier to fix than electrical failure, but it requires locating the source.
Rattling or vibration: Remove the housing and run the unit briefly (only if you can safely keep hands clear of the fan). Watch for wobbling fan blades or loose mounting screws. Tighten any hardware. If the fan blade itself is cracked or unbalanced, it must be replaced, running an unbalanced fan damages motor bearings.
Grinding or scraping: This indicates contact between moving and stationary parts. Check for debris (paper, pet hair, or broken plastic) caught in the fan. Inspect the fan shroud and housing for warping or cracks that allow parts to touch. High heat from a clogged filter can warp plastic housings over time.
High-pitched whine: Usually worn motor bearings. On some models, you can add a drop of electric motor oil (not WD-40 or general lubricant) to the bearing through a small port. This is a temporary fix, bearings that whine are near failure. Budget for a motor or unit replacement soon.
Repairing or Replacing Faulty Sensors and Indicator Lights
Modern air purifiers use optical or electrochemical sensors to monitor air quality and filter life. These components fail or get dirty, causing false readings.
Air quality sensor errors: If the air quality indicator is stuck on red (poor air) or doesn’t respond to smoke or dust, the sensor lens may be fouled. Locate the sensor (often near the intake grille, behind a small cover). Use a soft, dry brush or compressed air to clean the lens and surrounding chamber. Avoid touching the lens with your fingers, skin oils interfere with optical sensors. Some manufacturers recommend replacing sensors every 3–5 years as they drift out of calibration.
Filter change light won’t reset: Many units have a reset button that must be held for 3–10 seconds after filter replacement. If that doesn’t work, check for a mechanical switch or magnetic sensor that detects filter presence. Ensure the new filter is fully seated. If the light stays on with a known-good filter, the sensor or control board may have failed. Consult the manual for your model’s reset procedure, it varies widely.
Non-functional display or buttons: Clean the control panel with a dry cloth. Moisture or sticky residue can cause capacitive touch controls to malfunction. If buttons are physically damaged or the display is dark even though the unit running, the control board likely needs replacement. Boards for popular models are available from parts suppliers for $30–$70, but swapping them requires careful connector work. Take photos before disconnecting anything.
Indicator lights flashing in error codes: Some units flash LED patterns to indicate specific faults (e.g., motor overheat, filter missing, or sensor error). Cross-reference the pattern with the manual or manufacturer’s support site. Many appliance troubleshooting guides decode these error sequences for common brands.
Addressing Poor Airflow and Reduced Performance
Weak airflow is the most common complaint and usually the easiest to fix.
Replace or clean filters. HEPA filters are typically non-washable, they’re designed to trap particles, and washing them damages the media. Replace them per the manufacturer’s schedule (usually every 6–12 months). Pre-filters and foam filters can often be vacuumed or rinsed. Activated carbon filters degrade with use and can’t be regenerated at home, replace them when odor control drops off.
Inspect the fan and housing. With the filters out, shine a light into the fan chamber. Look for dust buildup on the fan blades and inside surfaces. Use a soft brush or damp cloth to clean them. Dust on fan blades reduces efficiency and increases noise. Check that the fan spins freely by hand, any resistance suggests bearing wear.
Clear intake and exhaust vents. Furniture, curtains, or wall placement can block airflow. Most units need 12–18 inches of clearance on all sides for proper circulation. Pet hair and dust bunnies accumulate around grilles, vacuum them monthly.
Check for bypass leaks. Air that leaks around a poorly seated filter bypasses filtration and reduces performance. Ensure filters fit snugly with no gaps. Some units use foam gaskets or sealing strips that compress over time and need replacement.
Test fan speed settings. If the fan runs on low but not high, the control board or speed switch may be faulty. If all speeds are weak, suspect a failing motor or capacitor. Capacitors (small cylindrical components near the motor) boost startup torque, when they fail, the motor struggles. Replacing a capacitor is straightforward for anyone comfortable with basic electrical repairs, but incorrect installation can damage the motor.
When to Repair vs. Replace Your Air Purifier
Not every broken air purifier is worth fixing. Use these criteria to decide.
Repair makes sense if:
- The unit is less than 5 years old and was a mid-to-high-end model ($200+).
- The problem is minor, filter replacement, sensor cleaning, or a loose wire.
- Replacement parts are available and cost less than 40% of a new unit with similar specs.
- The repair is within your skill level and doesn’t require specialty tools or soldering.
Replace the unit if:
- The motor is burned out or bearings are failing. Motor replacement often costs $80–$150 plus labor, and you’re still left with an aging unit.
- The control board is fried. Replacement boards for uncommon models can be unavailable or priced near a new unit’s cost.
- The housing is cracked or warped. This compromises the seal around filters and can’t be reliably repaired.
- The unit is over 7 years old. Even if repaired, other components are near end-of-life. Newer models are more energy-efficient and offer better filtration.
- Replacement filters are discontinued or excessively expensive. Some manufacturers discontinue filter production for older models, making the unit effectively obsolete.
Cost comparison example: A $300 air purifier with a failed motor might need a $120 motor plus 2 hours of labor. For $200–$250 total, you could buy a new unit with a warranty and updated features. If it’s a $600 unit and you can replace the motor yourself for $100, repair makes sense.
Consider energy efficiency. Units more than 10 years old may lack modern brushless DC motors, which use 30–50% less power than older AC motors. The savings on electricity can offset the cost of a new unit within a few years.
For in-depth reviews of current models and energy comparisons, home tech testing resources provide side-by-side specs that help evaluate whether a repair extends the life of a unit that’s still competitive with newer offerings.