Table of Contents
ToggleWhen an Amana refrigerator starts acting up, whether it’s a noisy ice maker, a cracked bin, or water that tastes off, most homeowners assume they need to call a repair tech or replace the entire unit. But here’s the reality: many common refrigerator problems come down to one or two failed parts that any DIYer can swap out in under an hour. Amana appliances are built with serviceability in mind, and the brand’s straightforward design makes parts replacement more accessible than you’d think. This guide walks through the most critical components, where to source genuine replacements, how to identify the exact part your model needs, and practical tips for tackling repairs without a service call.
Key Takeaways
- Most common Amana refrigerator parts like water filters, door bins, and gaskets can be replaced by homeowners in under an hour with basic tools, saving hundreds on service calls.
- Water filters should be changed every six months and are the most frequently replaced Amana refrigerator parts, with compatibility varying by model—always verify part numbers before purchasing.
- Identify your exact Amana model number from the metal tag inside the fridge to ensure you order the correct replacement part, as alphanumeric codes with suffixes indicate specific revisions and color variants.
- Genuine OEM parts from Amana’s official portal or trusted retailers like RepairClinic and PartSelect guarantee proper fit and longevity, while counterfeit filters and cheap aftermarket alternatives risk poor performance.
- Before disconnecting water lines or working with electrical components, shut off the water supply and unplug the refrigerator for safety, and always test the fridge for 24 hours after installation before fully restocking.
Understanding Your Amana Refrigerator’s Key Components
Before ordering parts or cracking open panels, it helps to understand what makes an Amana refrigerator tick. Most models, whether top-freezer, side-by-side, or French door, share common systems: a sealed refrigeration loop (compressor, condenser, evaporator), an air circulation assembly, defrost components, water supply lines (if equipped with ice or water dispensers), and the interior fittings.
The compressor and condenser coils handle cooling: these are typically sealed units that require a licensed HVAC tech to service. The evaporator fan circulates cold air from the freezer to the fridge compartment. When this fan fails, you’ll notice uneven temps or complete cooling loss in one section. The defrost timer, heater, and thermostat cycle to prevent frost buildup on evaporator coils, failures here lead to ice dams or water pooling inside.
Door gaskets (the rubber seal around the door) are critical for energy efficiency. A torn or hardened gasket lets warm air in, forcing the compressor to run constantly. Thermostats and temperature controls regulate cycling: a faulty control can cause the fridge to run too warm or freeze food. Ice makers and water dispensers have dedicated valves, filters, and tubing, these are the most frequently replaced parts due to mineral buildup and normal wear.
Understanding these systems helps diagnose issues. If the fridge runs but doesn’t cool, suspect airflow or defrost problems. If water tastes funky or ice production slows, look to filters and valves. Knowing the difference between a $15 gasket fix and a $300 compressor failure saves time and money.
Most Commonly Replaced Amana Refrigerator Parts
Water Filters and Dispensers
Water filters top the list of routine replacements. Amana recommends changing filters every six months or after filtering about 200 gallons, whichever comes first. A clogged filter reduces water flow, affects ice quality, and can strain the dispenser motor. Part numbers vary by model, common ones include Amana Clean ‘N Clear Filter and EveryDrop Filter 4. Always verify compatibility with your model number before purchasing.
The water inlet valve controls flow to the ice maker and dispenser. When it fails, you’ll get no ice, slow fill, or leaking. Replacement is straightforward: shut off the water supply (usually behind the fridge or under the sink), disconnect the supply line, remove two mounting screws, swap the valve, and reconnect. Expect to spend $25–$50 on a genuine valve. While you’re back there, inspect the supply line tubing, kinked or cracked lines cause leaks and restricted flow.
Dispenser switches and actuators take a beating from daily use. If pressing the paddle does nothing, the actuator (the plastic lever behind the paddle) may be broken. This is a $10–$20 part that pops out with a screwdriver. The dispenser control board is pricier ($80–$150) but less commonly fails unless there’s been a power surge.
Shelves, Drawers, and Door Bins
Interior fittings crack, warp, or shatter, especially in older units. Glass shelves can break if overloaded or subjected to rapid temperature changes (don’t set a hot dish on a cold shelf). Replacement shelves run $40–$80 depending on size and whether they’re spill-proof. Measure the interior width and depth before ordering: Amana shelves aren’t universal across models.
Crisper drawers and humidity controls wear out from daily sliding and moisture exposure. Cracked drawer fronts or broken rails make it hard to open or close drawers smoothly. Replacement drawers cost $30–$70, and rails are typically $10–$20 per side. Door bins are the most frequently broken parts, one clumsy reach for the milk, and the retaining clips snap. Bins range from $15–$40. When ordering, note whether your bin has a clear cover, adjustable dividers, or built-in egg holders: match the part number exactly.
Humidity control slides on crisper drawers are small but important for keeping produce fresh. If yours is missing or damaged, it’s a cheap ($5–$10) fix that makes a noticeable difference in how long veggies last.
Where to Find Genuine Amana Replacement Parts
Genuine OEM (Original Equipment Manufacturer) parts ensure proper fit and longevity. Aftermarket parts may be cheaper, but quality varies, especially for electrical components and water filters. Amana is owned by Whirlpool Corporation, so parts are often cross-compatible with Whirlpool, Maytag, and KitchenAid models where designs overlap.
Start with Amana’s official parts portal or Whirlpool’s direct parts site. Enter your model number, and you’ll see exploded diagrams showing every component. This visual reference helps confirm you’re ordering the right part. Pricing is typically retail, but you’re guaranteed authenticity.
Appliance parts specialists like RepairClinic, AppliancePartsPros, and PartSelect stock a huge inventory, often at lower prices than manufacturer direct. These sites offer diagrams, installation videos, and customer reviews. They also carry hard-to-find parts for discontinued models. Shipping is usually fast, most parts arrive within 3–5 business days.
Big-box retailers (Home Depot, Lowe’s) carry common items like water filters, door bins, and light bulbs in-store. Selection is limited compared to online specialists, but if you need a filter today, it’s a solid option. Many professional appliance reviews highlight parts availability as a key factor when choosing a refrigerator brand, and Amana scores well here.
Amazon and eBay can work for basic parts, but verify seller ratings and return policies carefully. Counterfeit filters are a real problem, they look identical but use substandard media that doesn’t filter contaminants. Stick to sellers with high volume and verified purchase reviews.
If your Amana is 10+ years old, parts availability may be hit-or-miss. Check stock before committing to a repair. If a critical part is discontinued and aftermarket options are sketchy, it may be time to consider replacement, especially if energy efficiency and reliability have declined.
How to Identify the Right Part for Your Amana Model
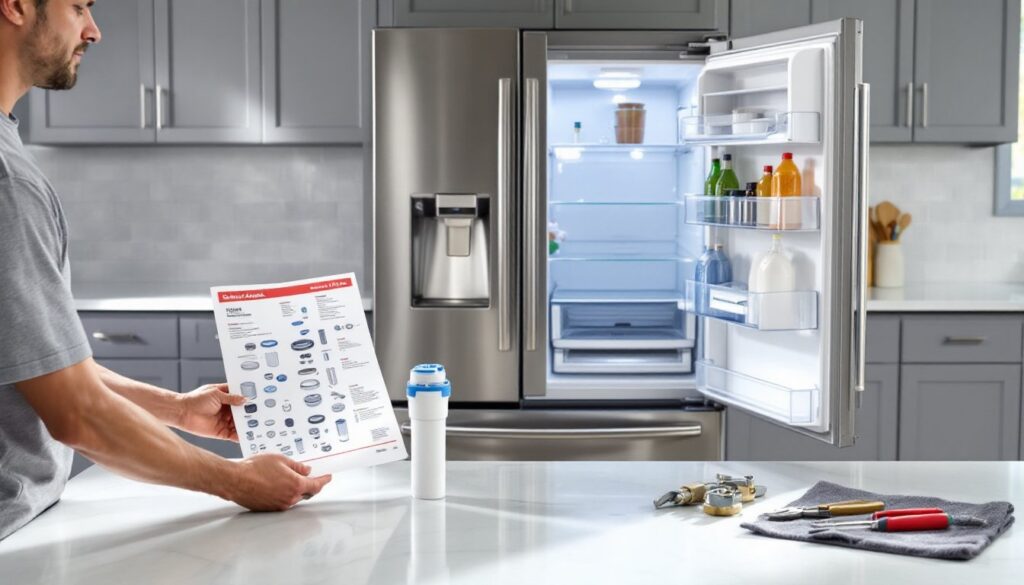
Ordering the wrong part wastes time and money. Amana uses alphanumeric model numbers printed on a metal tag or sticker, usually located inside the fridge along the upper sidewall, on the ceiling, or behind the crisper drawers. The tag also lists the serial number, which can help narrow down manufacturing date and production runs if parts changed mid-cycle.
Model numbers look like ASD2575BRW01 or AFI2538AEW. Write down the entire string, including suffix letters and numbers, those digits often indicate specific revisions or color variants that affect part compatibility. Don’t rely on the exterior badge alone (e.g., “Amana Side-by-Side”): you need the exact model.
Once you have the model number, plug it into a parts diagram tool on any of the retailer sites mentioned earlier. These diagrams break the fridge into categories: doors, shelves, ice maker assembly, water system, cooling system, electrical, etc. Click the part you need, and the site will list compatible part numbers. Cross-reference the part number with your existing component if possible, sometimes it’s printed on the part itself (look on the back of bins, the edge of shelves, or molded into plastic components).
For water filters, note that Amana uses several families: Filter 1, Filter 2, Filter 3, Filter 4. The filter housing inside your fridge is labeled. You can also match by NSF certification number if the label is worn off. Don’t assume a filter fits just because it’s branded Amana, verify the part number matches.
If you’re replacing a control board or thermostat, take a photo of the wiring harness before disconnecting anything. Label wires with masking tape if connectors aren’t keyed. Mixing up a neutral and ground, or reversing polarity on a DC component, can fry the new part or create a safety hazard.
DIY Replacement Tips for Homeowners
Most Amana refrigerator parts can be swapped with basic hand tools: a 1/4″ nut driver or socket set, Phillips and flat-head screwdrivers, needle-nose pliers, and an adjustable wrench. For water line work, keep a bucket and towels handy, residual pressure will release a cup or two of water when you disconnect lines.
Safety first: Unplug the refrigerator before working on electrical components (fans, control boards, ice makers). If you can’t reach the outlet, flip the dedicated breaker. For water line repairs, shut off the supply valve completely. Wear safety glasses when working under the fridge or removing stuck screws, rust and debris can flake into your eyes.
Shelf and bin replacements are the easiest, just lift out the old, snap in the new. For door bins, tilt the bin upward to disengage the lower clips, then lift free. Reverse to install. Some models use screw-mounted brackets: remove the screws, slide out the old bin bracket, install the new one, and re-tighten.
Gasket replacement takes patience. Soak the new gasket in warm water for a few minutes to make it pliable. Starting at a top corner, peel away the old gasket (it may be held by a retainer strip or pressed into a groove). Clean the door channel thoroughly, built-up grime prevents a good seal. Press the new gasket into place, working in small sections. Close the door and check for gaps by sliding a dollar bill along the seal: if it pulls out easily, the gasket isn’t seated correctly.
Ice maker and water valve work requires disconnecting the water supply. Turn off the valve, relieve pressure by dispensing water until flow stops, then use a wrench to disconnect the compression fitting or push-fit connector. Swap the valve, reconnect the line (don’t overtighten compression fittings, 1/4 turn past hand-tight is enough), turn the water back on, and check for leaks. Let the first two batches of ice dump into the sink, initial ice often contains trapped air and sediment.
Defrost components (timer, heater, thermostat) are more involved and often located behind interior panels or the back access cover. If you’re not comfortable working with 120V wiring and testing components with a multimeter, call a pro. Same goes for compressor or sealed system repairs, these require EPA-certified refrigerant handling.
Many kitchen-focused resources, like The Kitchn, emphasize the value of maintaining appliances rather than replacing them prematurely. A $40 part and an hour of work can add years to a fridge’s life.
Testing after installation: After replacing any part, run the fridge for 24 hours before fully restocking. Check that temperatures stabilize (fridge around 37°F, freezer at 0°F), listen for unusual noises, and inspect for leaks. If an ice maker was involved, verify it cycles and produces ice within 24–48 hours.
When to call a professional: If you’ve replaced the obvious culprit and the problem persists, or if you’re dealing with refrigerant lines, compressor issues, or complex electrical diagnostics, hire a certified appliance tech. Permits aren’t required for parts replacement, but if your repair involves modifying electrical circuits or gas lines (rare in fridges), local codes may apply.