Table of Contents
ToggleCasement windows stuck, warped, or drafty? Replacing them isn’t as intimidating as it sounds, if you’ve got a weekend, the right tools, and patience for detail work. Unlike double-hung units, casements hinge on one side and swing outward, which makes them energy-efficient when they seal properly. But age, moisture, and cheap hardware turn them into air leaks and headaches. This guide walks through a full casement window replacement, from measuring the rough opening to sealing the new unit. If your frame’s structurally sound and you’re comfortable with basic carpentry, this is a solid intermediate DIY project.
Key Takeaways
- Casement window replacement can reduce heating and cooling costs by 10–25% and is a solid intermediate DIY project if your frame is structurally sound.
- Measure your rough opening carefully at multiple points and order a replacement casement window ½” smaller in both dimensions to allow room for shimming and leveling.
- Most replacement casement windows cost $400–$900 installed professionally, but DIY projects eliminate labor costs with proper tools, materials, and detailed attention to measuring and sealing.
- Proper shimming, leveling, and a watertight seal are critical—rushing these steps will cause the window to bind or leak, compromising operation and energy efficiency for years.
- Always inspect the sill for rot before installing your new casement window; a spongy or crumbly frame must be repaired or sister-in before proceeding, or the warranty will be void.
- Use low-expansion foam and exterior-grade polyurethane sealant on the exterior, leave weep holes open at the sill for drainage, and consider hiring a professional if you encounter structural damage or out-of-square framing.
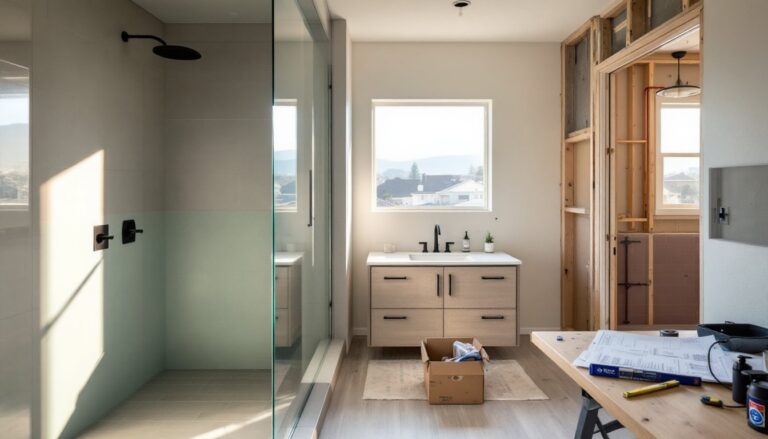
Why Replace Your Casement Windows?
Most homeowners replace casement windows for three reasons: energy loss, mechanical failure, or rot. Single-pane glass and worn weatherstripping bleed heat in winter and let AC escape in summer. You’ll feel drafts even when the window’s cranked shut.
Casement hardware, especially the crank mechanism and hinge arms, wears out faster than double-hung channels. If the sash won’t close flush or the crank spins without engaging, replacement parts often cost nearly as much as a new window.
Wood and vinyl frames also deteriorate. Wood casements rot where water collects at the sill or corners, compromising the seal and sometimes the structural integrity. Vinyl can crack in freeze-thaw cycles. If the frame’s spongy, cracked, or visibly rotted, you’re past the point of repair.
Replacement windows can cut heating and cooling costs by 10–25% depending on your climate and the efficiency of the new unit. Low-E coatings, argon fills, and multi-pane construction make modern casements far tighter than models from the ’80s and ’90s. According to comprehensive pricing guides from HomeAdvisor, casement window replacement typically runs between $400 and $900 per window installed, though DIY projects eliminate most labor costs.
Permits may be required if you’re altering the rough opening size or doing structural work. Check with your local building department. Cosmetic replacement, swapping an old casement for a same-size unit, usually doesn’t require a permit, but codes vary by jurisdiction.
Tools and Materials You’ll Need
Gather everything before you start. A missing tool mid-project means an open window overnight.
Tools:
- Pry bar (flat and cat’s paw)
- Utility knife with fresh blades
- Cordless drill/driver with bits
- Level (24″ or longer)
- Tape measure
- Hammer
- Caulk gun
- Reciprocating saw or oscillating multi-tool (for cutting nails if needed)
- Shims (cedar or composite)
- Safety glasses, gloves, and dust mask
Materials:
- Replacement casement window (sized to your rough opening)
- Exterior-grade polyurethane sealant or window flashing tape
- Low-expansion spray foam insulation
- Galvanized or stainless steel screws (length depends on frame thickness: typically 2½” to 3″)
- Backer rod (for wide gaps)
- Drip cap or metal flashing (if not included with window)
A circular saw works for trimming shims, but a miter saw gives cleaner cuts if you’re also replacing interior trim. An oscillating tool is invaluable for cutting through old nails without damaging the framing.
Measuring Your Casement Window for Replacement
Measure twice, order once. Casement windows are ordered to fit the rough opening (the framed hole in your wall), not the old window’s exterior dimensions.
- Remove interior trim carefully with a pry bar to expose the frame edges.
- Measure the rough opening width at the top, middle, and bottom. Use the smallest measurement.
- Measure the rough opening height on both sides and in the center. Again, use the smallest number.
- Check for square by measuring diagonals. If they’re within ¼”, you’re good. More than that, and you may need to sister in framing to true it up.
- Measure the sill depth from interior to exterior to confirm your new window’s jamb depth will fit.
Most replacement casements are sized in ½” increments. Order a unit ½” narrower and ½” shorter than your rough opening to allow room for shimming and leveling. If your opening is 36″ wide by 48″ tall, order a 35½” x 47½” window.
If you’re replacing with the same brand and product line, manufacturers sometimes offer “replacement kits” that mount inside the old frame without full tear-out. These work only if the old frame is square, plumb, and rot-free.
Step-by-Step Casement Window Replacement Process
Removing the Old Casement Window
Put on safety glasses and gloves. Old windows have sharp edges, and you may encounter hidden nails or staples.
- Open the sash fully and remove the screen if present.
- Disconnect the crank arm from the sash bracket. Some casements have a clip or pin: others require unscrewing the arm.
- Cut through paint and caulk around the exterior trim (brick mold) and interior stops with a utility knife.
- Pry off the interior stops and trim with a flat pry bar. Work gently to avoid splintering if you plan to reuse trim.
- Remove exterior brick mold or casing. On vinyl windows, this may be nailed or screwed through the frame.
- Cut or pull fasteners. Use a reciprocating saw with a metal-cutting blade to slice through nails between the window frame and rough opening. An oscillating tool works if space is tight.
- Lift out the old window. Have a helper steady it. Casement units can be heavy and awkward.
- Clean the rough opening. Scrape off old caulk, foam, and debris. Check the sill for rot. If the wood’s soft or crumbly, sister in new framing before proceeding. This is not optional, a rotten sill won’t support the new window and will void most warranties.
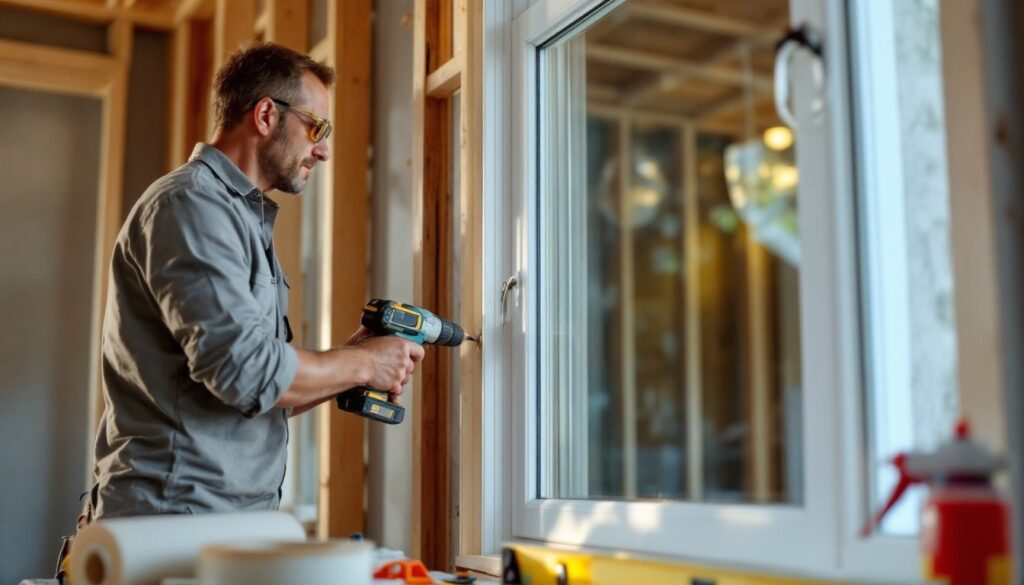
Installing Your New Casement Window
Read the manufacturer’s instructions. Installation details vary, especially for nail-fin vs. flush-mount designs.
- Apply sill flashing or sealant. Run a bead of exterior-grade polyurethane along the sill, sloping slightly outward for drainage. Some pros prefer self-adhesive flashing tape recommended by contractors for a watertight seal.
- Set the window in the opening from the exterior. Tilt the top in first, then lower the bottom onto the sill. Center it with equal gaps on each side.
- Check level and plumb. Place your level on the sill and head jamb. Adjust with shims at the bottom corners and midpoint. Check both side jambs for plumb. Don’t force it, over-shimming will bow the frame and prevent the sash from operating smoothly.
- Secure the window. Drive screws through the pre-drilled mounting holes in the jamb or nailing fin. Start at the bottom corners, recheck level, then fasten the top corners. Add screws every 8–12″ along the sides. Use screws long enough to bite into the framing, but not so long they punch through exterior sheathing.
- Recheck operation. Open and close the sash. It should swing freely without binding. If it sticks, you’ve over-tightened or the frame’s out of square, back out screws and re-shim.
- Insulate the gaps. Use low-expansion foam around the perimeter. Regular expanding foam will bow the jambs. Fill gaps in 2–3 passes, letting each cure. For gaps wider than ½”, stuff in backer rod first.
- Install drip cap over the head jamb if not integrated into the window. This prevents water from running behind the frame.
- Seal the exterior. Run a continuous bead of polyurethane caulk where the window frame meets the siding. Tool it smooth with a wet finger. Don’t caulk the bottom edge of the sill, leave weep holes open for drainage.
- Reinstall or replace interior trim. Nail casing and stops back in place. Fill nail holes, caulk the joint between trim and drywall, then prime and paint.
Safety note: If you’re working above the first floor, use fall protection or hire a pro. Leaning out to install exterior trim from inside is a recipe for a trip to the ER.
Conclusion
Casement window replacement is well within reach for a confident DIYer, provided the rough opening is square and the framing’s solid. Take your time with measuring and shimming, those steps determine whether your window operates smoothly for the next 20 years or binds up in six months. If you hit rot, sagging headers, or out-of-square openings beyond minor shimming, call in a carpenter. Structural repairs aren’t the place to learn on the job.